When Matt and I went to re-frame the rear wall of the COMET, we knew we had to do some re-design as well. First of all, at some point there is going to be a “bumper garden” (hehe, get it? on top of the bumper…) mounted onto the back of the trailer under the window. Ok, so it’s like a way-glorified window box, but on a moving trailer, and made with polycarbonate so it’s also like a tiny greenhouse too. Since there will at some point soon be soil and metal and plants hanging off of the back wall, we knew we had to beef up the framing. I wanted enough studs that we could lag into to support the bumper garden. The second part of the design had to address the really weird original framing, which had the rear bench (couch and also my bed) come down halfway in front of the rear hatch, which is the only place to really store anything large. Basically, the rear bench bisected the hatch, and I thought that was dumb, because I want full hatch access! So we raised the bench up 6 inches, so it now clears the rear hatch door and give us a little more storage. Here’s how we did it!
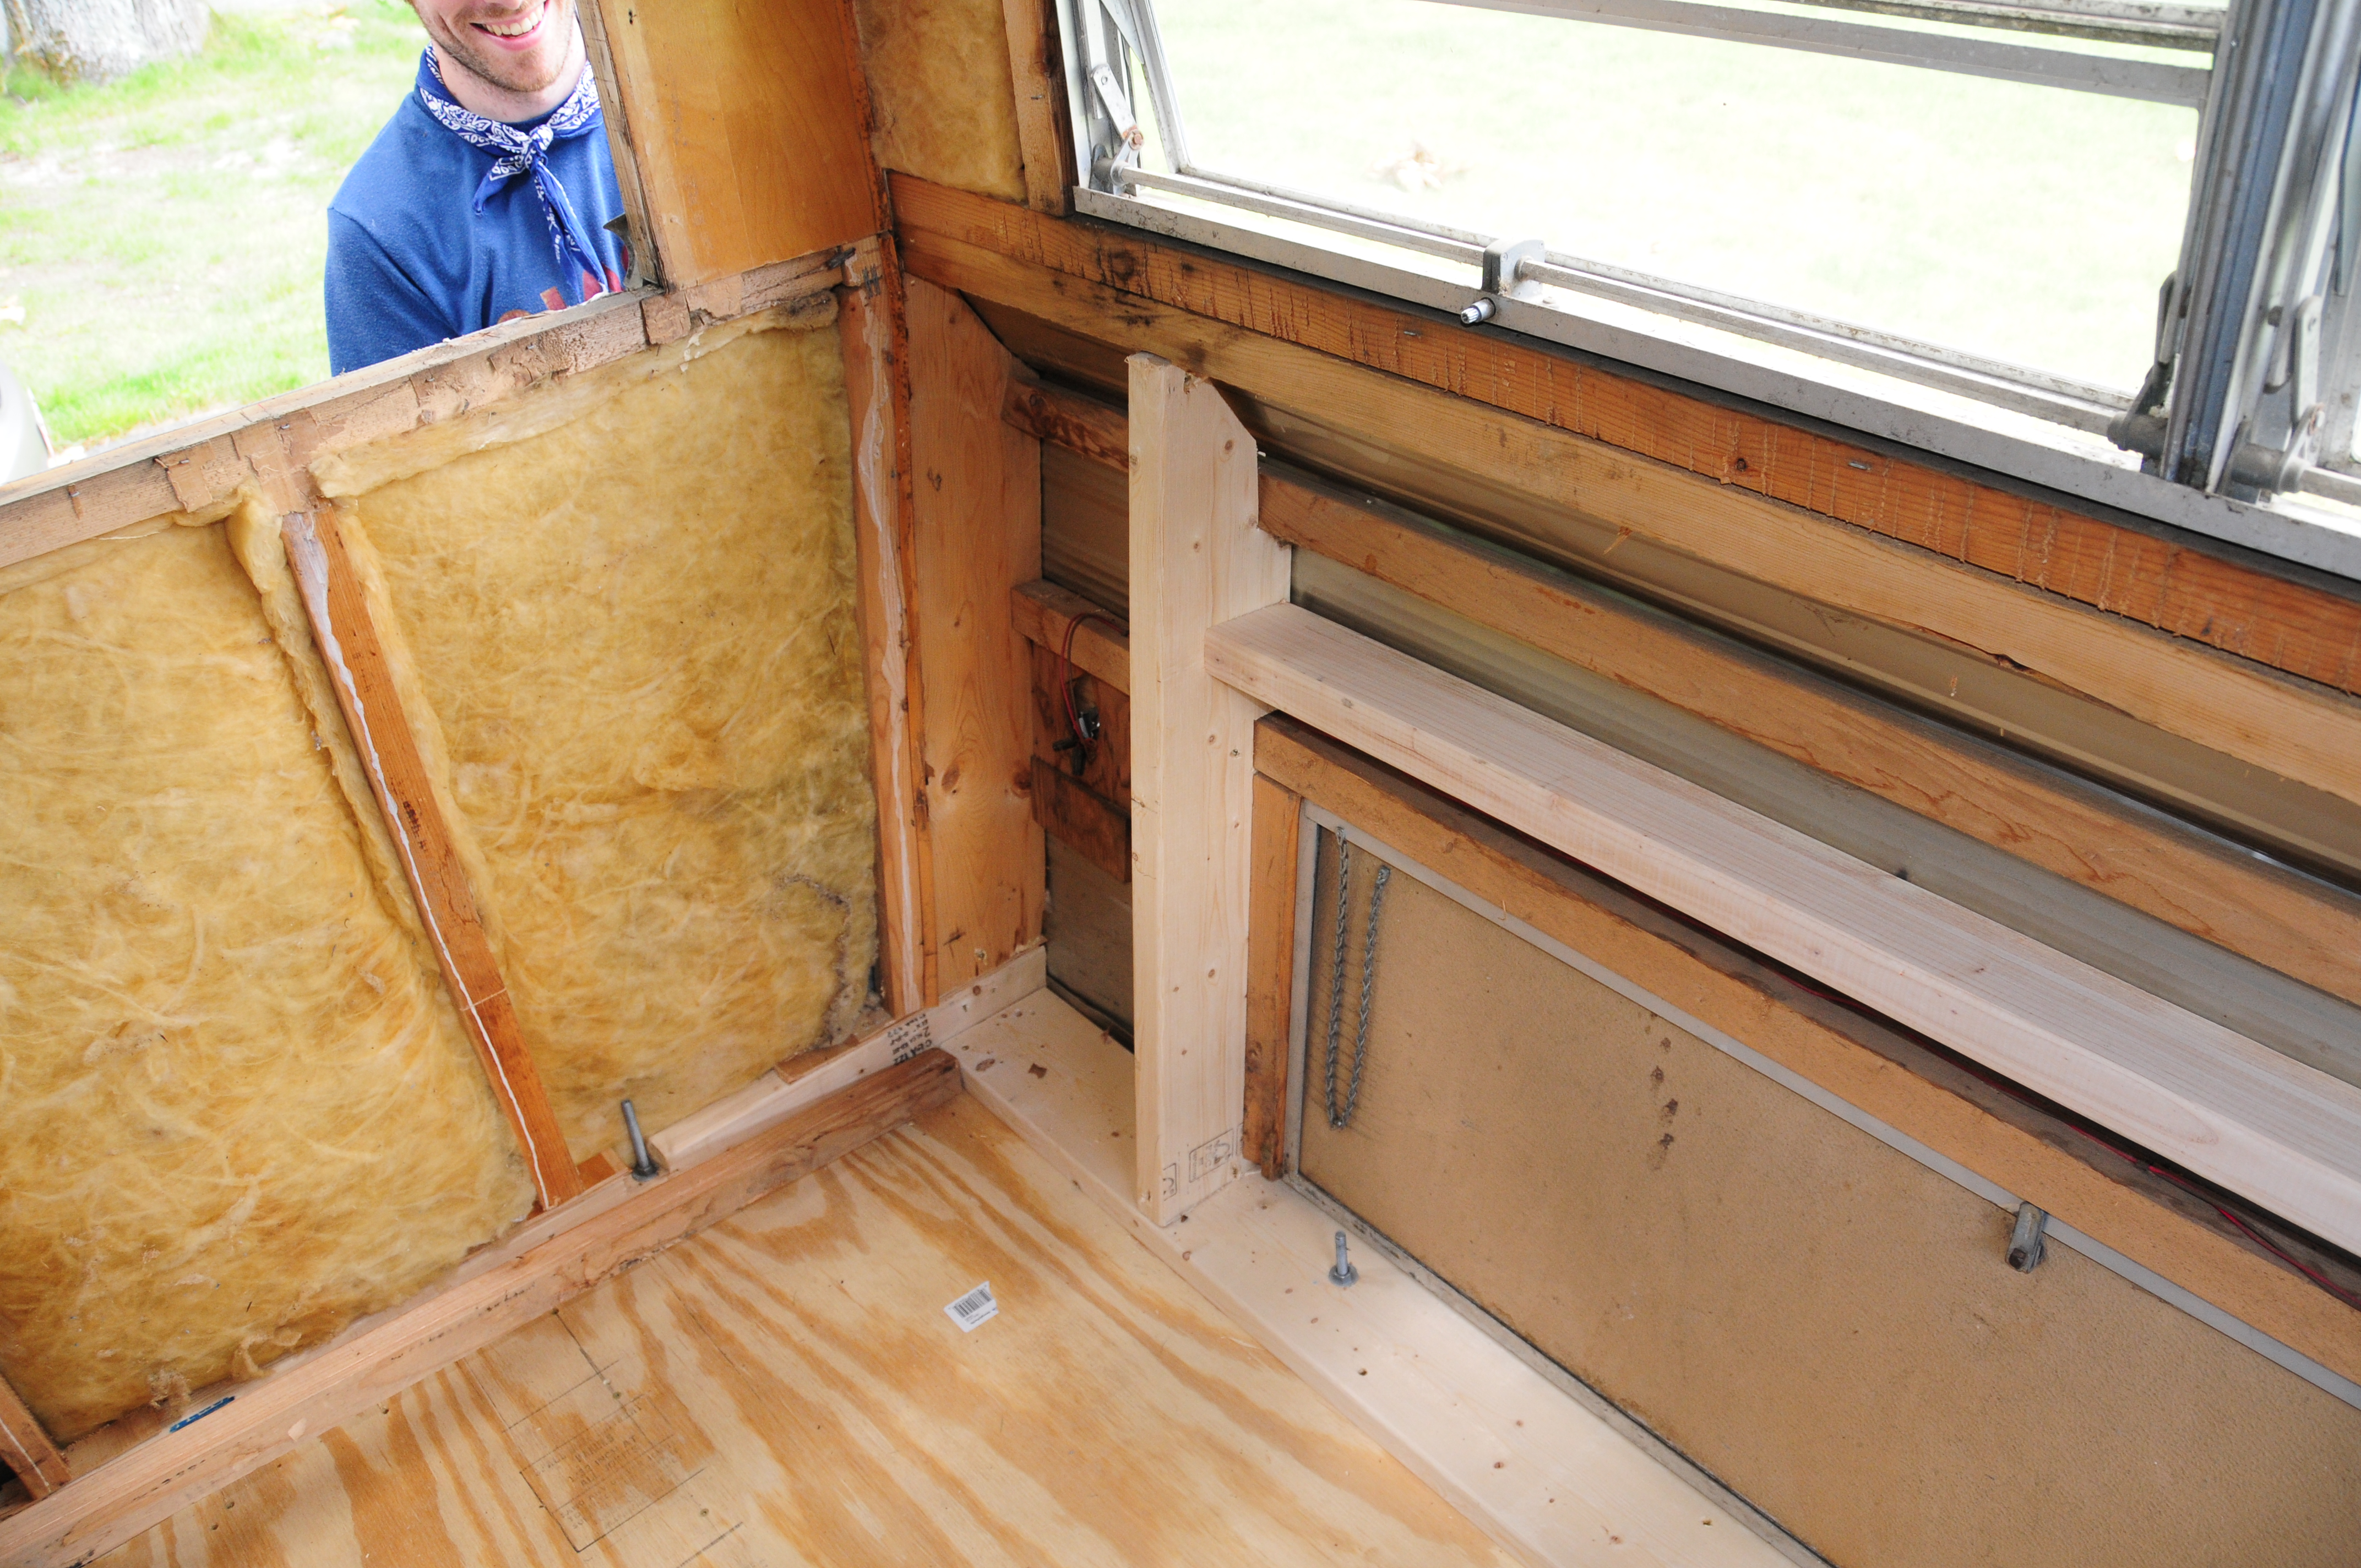
A little reference, so you can see how the original framing interfered with the rear access door.

That beam spans right across the access opening, so we did a little re-designing.

Those new studs are 2×6’s, so very strong. We cut them to match the profile of the curvy back of the trailer. It had to match the existing aluminum shape. Notice that the problematic beam is gone.

Here’s another view. The 2×4 spanning the two studs ties them together and gives me another place to lag into when I go to attach the bumper garden.

More framing! We added a 2×6 across the top of the access opening. That member will support the bench framing. We re-used most of the wood from the original bench, just re-arranged it. The studs (2×2’s) on either side are for nailing the new wood panel up, you need something to tack into. We tried to make the back as strong as possible. We’ll see how it holds up when the bumper garden goes on.

Just another close-up.

Now you can see that the rear hatch is entirely accessible. Much better! And we made room for a slightly larger fresh water tank too.
Just a little tip/reminder for those of you that are doing this yourself: NOW IS THE TIME TO MAKE SURE THE TOW WIRING WORKS! While you have access to the wiring for the rear brake/turn lights, make sure everything works. Luckily, the Avalon was working when we got her. But my other camper, the Beemer, needed to be completely re-wired, and it’s better to know before you go closing up the walls.

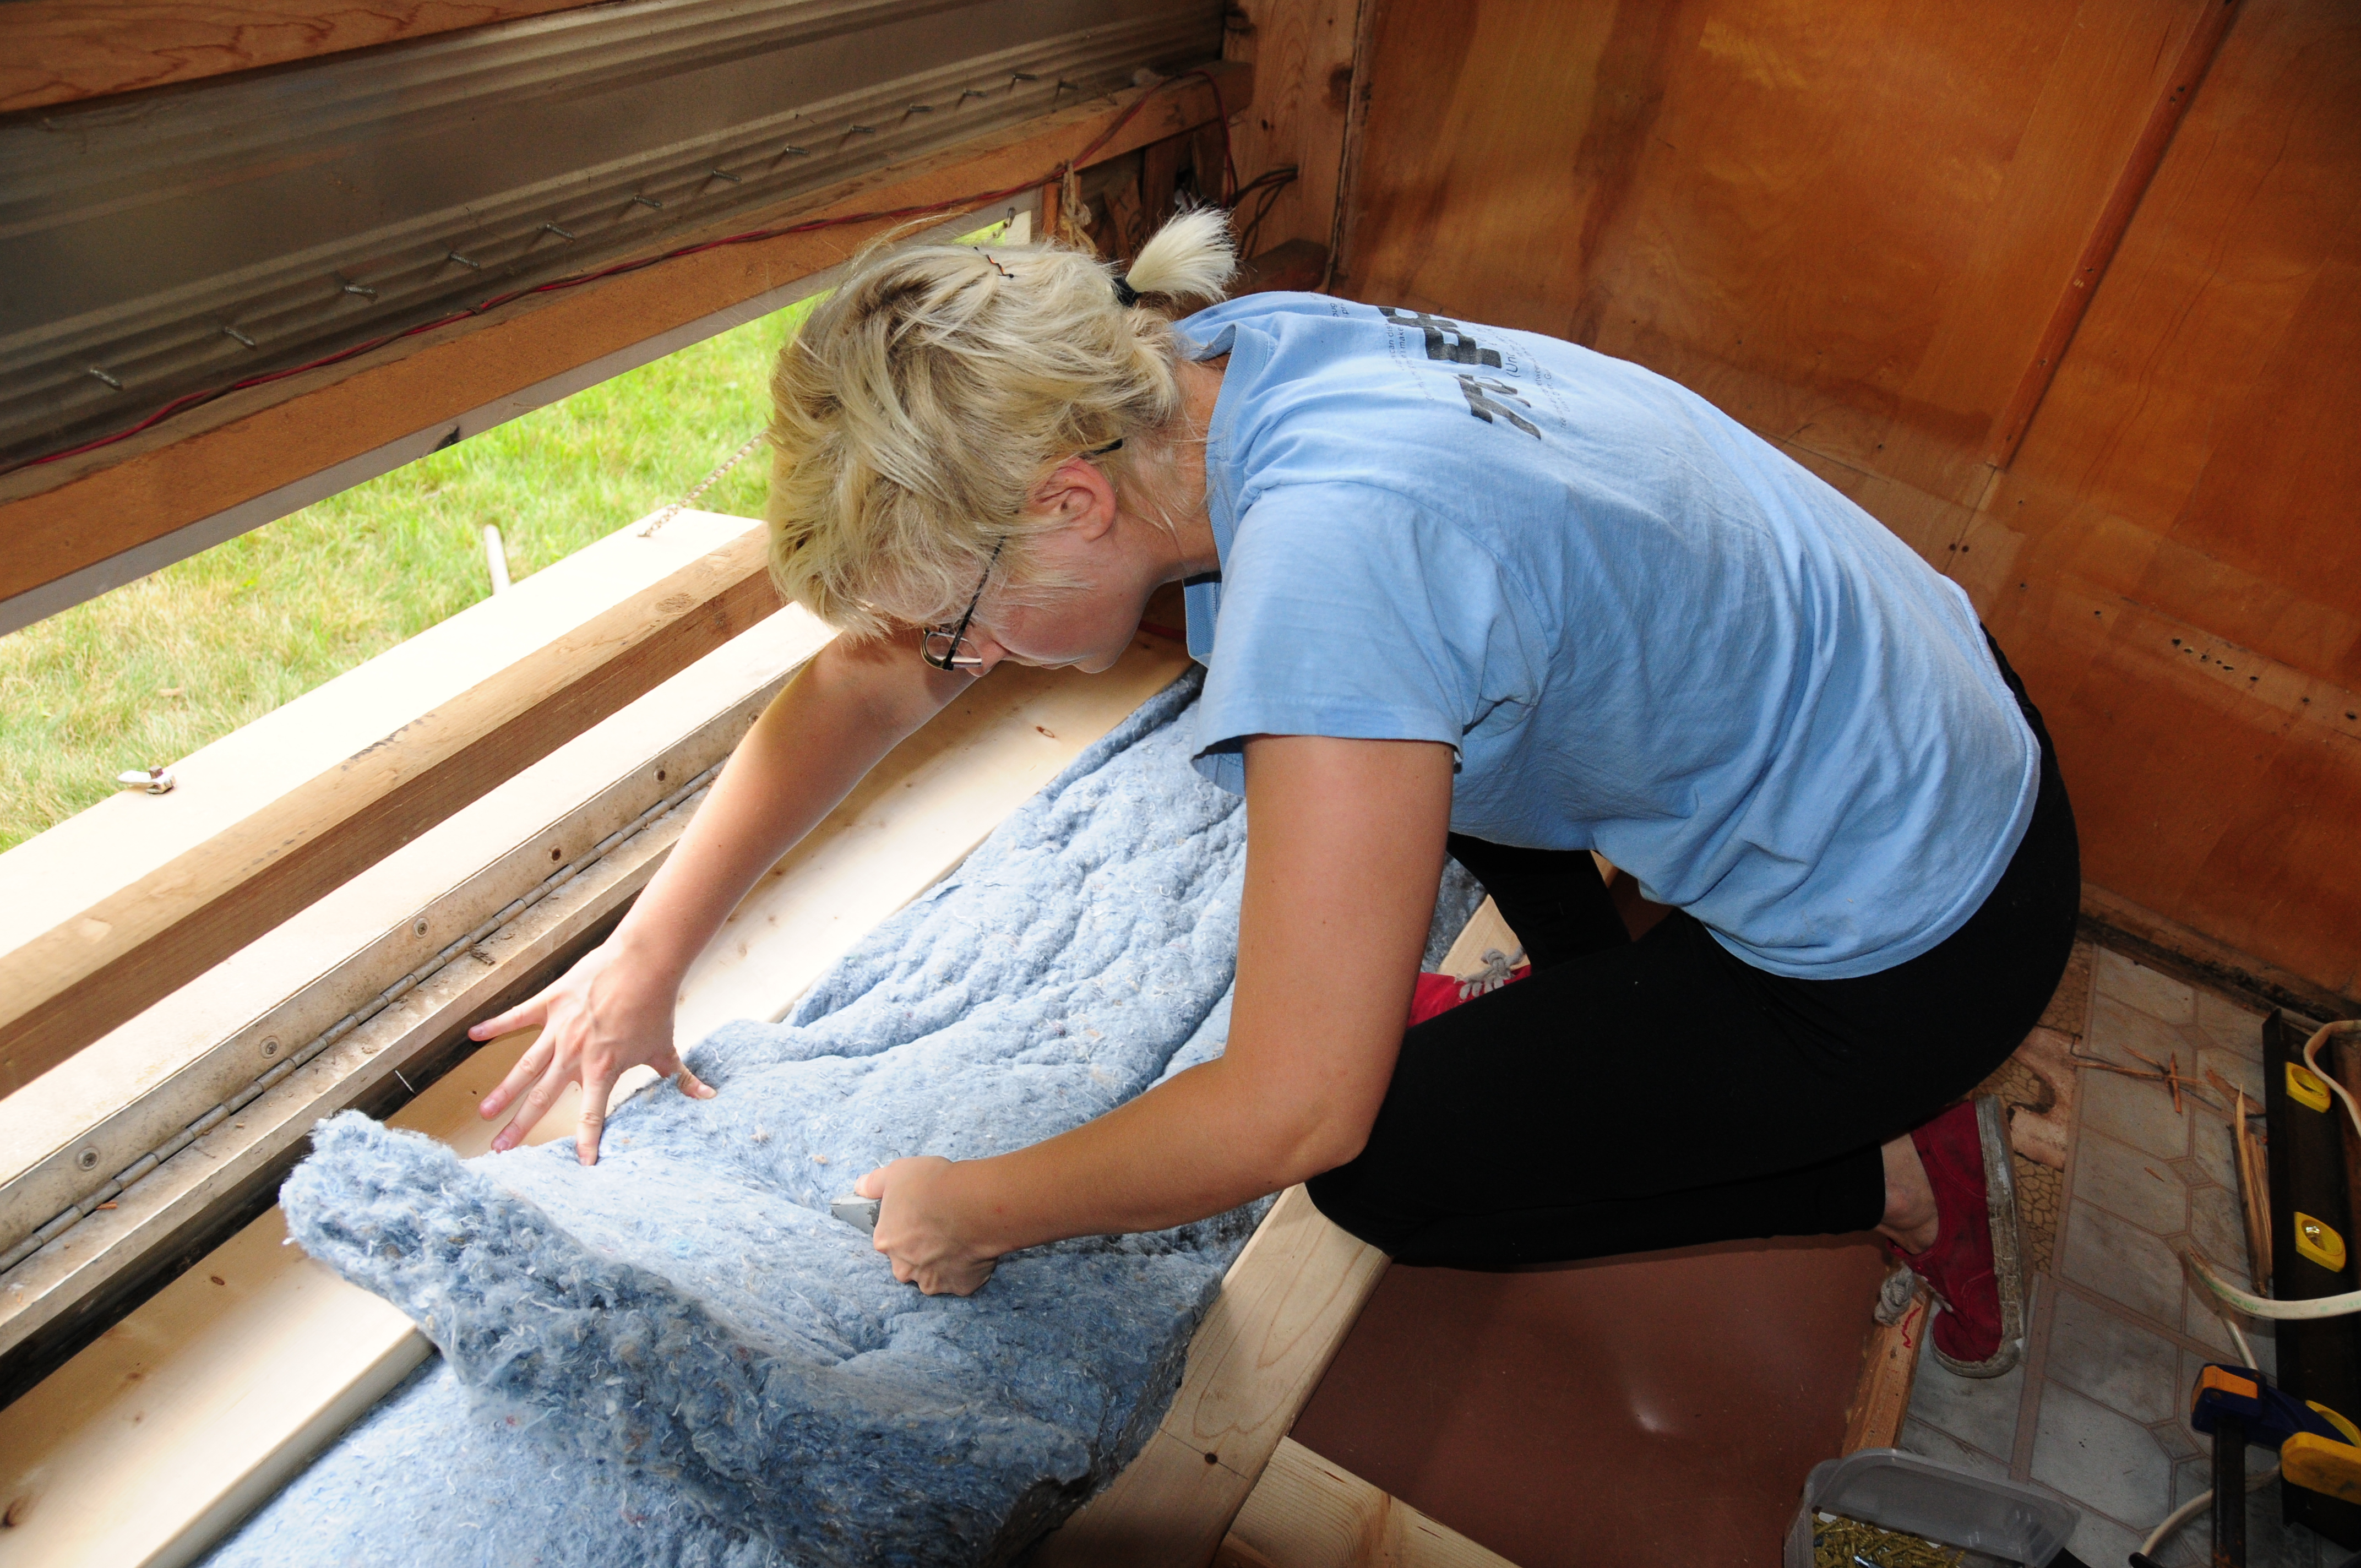
Insulate with UltraTouch Denim Insulation. See previous post for more about this cool stuff!

Here’s the plywood I cut to be the rear panel. See that little window cut out at the top (the right side?), that’s going to be a picture frame that let’s you see and feel the UltraTouch from inside the camper. I thought this would be cool for people to see and feel at workshops and such.

Well this photo skips a few steps ahead, but you can see the 1/4 inch plywood panel installed (use ring-shanked finish nails). You can also see the new (though made from the original old wood pieces) bench framing. See how the front of the bench, with the access door which is removed in this photo, has a 2×6 (which is 5.5 inches wide) attached to the bottom. This gave us the height we needed to clear the rear hatch! It all worked out as planned.

Here’s a close-up of the little insulation view-hole. I have a picture frame that will go around that square when everything’s finished.
And that’s how to frame for a bumper garden (or any other weight bearing rear storage container)! I really hope this works. I think it’s probably a little overkill, considering the bumper garden will also be supported by the bumper, but I’d rather be safe than sorry!
Next post will cover more insulation and paneling (quickly), and maybe a little more of the bench building. It will definitely cover how to install the fresh water tank.
Thanks to everyone who’s been reading along while I play catch up! I hope all of this is helpful to those of you who are restoring your own vintage trailers. And I hope it doesn’t scare away those who one day hope to!